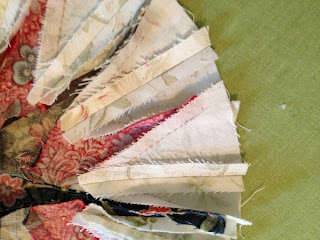
I will never be accused of speeding through my stitching projects! I won't be the person who churns out quilt after quilt in a month. I do wish I was faster, but I trust I'll improve with time. I have learned to enjoy each step of the journey. While some people don't "get" why we stitch, there is something very satisfying in the creation, accomplishment, and beauty of what we create.
The journey with 'Love Entwined' begins - appropriately - with a compass.
Here's where I'm at.
And here's how I got here.
My first hurdle was deciding on colors and fabric. With my handy new hinged mirror (love it!) I only needed a few snips of fabric for each view. Many, many, MANY of these combos tried to convince me they were “it”. Deciding wasn’t easy. (And based on the Yahoo BOM group's messages, I'm not alone!)
I looked at the photos I took, pulled out possible candidates for pieces further down the road in future blocks, and gave the ideas time to reveal the direction (pun intended :-).
In the end, I really liked the navy, red, and taupe prints. Since it's a busy pattern, I plan to use occasional neutrals, like the taupe, to give some relief. The green and yellow (and other colors) will find their way in soon enough.
Believe it or not, these three fabrics are my compass "background" with some selective cutting. I really like the text in the rose fabric. (These 3 turned out more subtle than I thought they'd be, but I'm satisfied.)
Remember I said "if I could hand piece it successfully?" Key word: SUCCESSFULLY?!? : )
(FYI, since I modified the compass pattern slightly, my piece numbers don't match the pattern.)
I was super careful with matching (probably excessive!) and took my time. I would pin through the crosshair of the tip and matching spots...
making sure it went through the exact spots on the back.
Once I finished stitching the compass pieces together, my next challenge was pressing it. I looked at what others had done and googled pressing mariner’s compass... all rotating clockwise?... open flat?... combo? I have the
Then I worked my way around again, pressing the other side of each compass point onto the point.
Oh... the other reason this is taking time is that I've been watching this little sweetheart (first - only - DGS) the last few weekends. Exploring, laughing, walking, bopping to the music... life as an almost-1-year-old.
I forgot how fast they grow. Stitching will wait.


4 comments:
Your points are perfect! I also handpiece. Your priorities are most definitely in order. Stitching projects will always wait. Precious 'lil ones don't wait.
Adorable little one he is too cute. Love your compass looks beautiful.
Bunny
Very nice post!
I liked what you said on the LE list, too. I hope we have many more posts from you. I love your compass.
Margaret
I haven't made it beyond the center compass either--I'm waiting to be snowed in for the winter and will catch up then....maybe!
Post a Comment